


Print a Warranty Claim
To print a warranty claim:
|
|
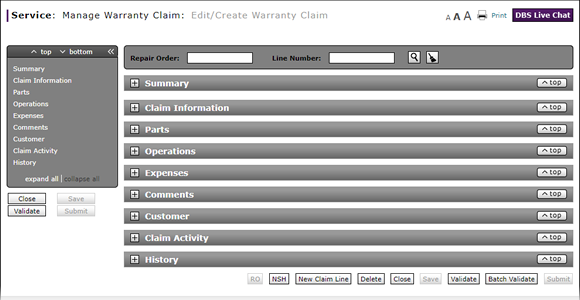
Click the Print button. |
|
|
To print the available data for the selected claim, select the Print just this claim option. To print the available data for the selected claim and any available claim data for the same work order, select the Print all claims for this work order option. |
|
|
Click the Print button. |
|
|
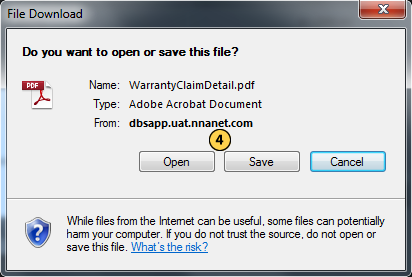
Click the Open button to open the file now or click the Save button to save the file to your computer. |
|
|
Use the Printer icon available in the PDF application toolbar and proceed as you normally would to print a file. |
Note: The Print Warranty Claim function is available from the Edit/Create Warranty Claim, View Warranty Claim, Express Entry Warranty Claim, and Quick Entry Warranty Claim pages.
To print a warranty claim:
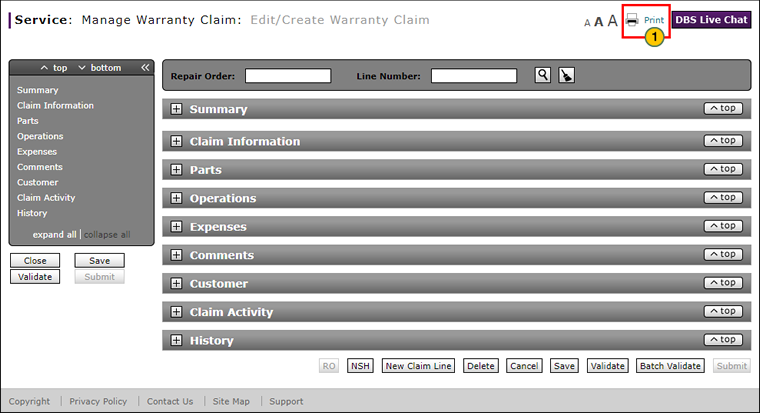
- Click the Print button in the upper-right of the page.
Note: The Print Confirmation window appears. - If the repair order has more than one line, select whether you want to print the displayed line only, or all claim lines; and then click the Print button.
- Follow your browser-specific instructions to open or save the print file.
- Use the Printer icon available in the PDF application toolbar and proceed as you normally would to print a file.
- About Warranty Claims: What You Need to Know
- Add New Claim Line from Quick Entry Warranty Claim Page
- Add New Claim Line to a Repair Order
- Batch Validate a Warranty Claim
- Complete the Claim Information Section of a Claim
- Complete the Comments Section of a Claim
- Complete the Customer Section of a Claim
- Complete the Expenses Section of a Claim
- Complete the Operations Section of a Claim
- Complete the Parts Section of a Claim
- Complete the Summary Section of a Claim
- Delete a Warranty Claim
- Look Up a Part
- Look Up an Operation Code
- Submit a Warranty Claim
- Use the Quick Jump Menu in a Warranty Claim
- Validate a Warranty Claim
- View DCAL
- View NSH for a Warranty Claim
- View the Claim Activity Section of a Claim
Print a Warranty Claim
To print a warranty claim:
|
|
Click the Print button. |
|
|
To print the available data for the selected claim, select the Print just this claim option. To print the available data for the selected claim and any available claim data for the same work order, select the Print all claims for this work order option. |
|
|
Click the Print button. |
|
|
Click the Open button to open the file now or click the Save button to save the file to your computer. |
|
|
Use the Printer icon available in the PDF application toolbar and proceed as you normally would to print a file. |