


Add a New Claim Line on an Express Entry Warranty Claim
|
|
|
|
|
|
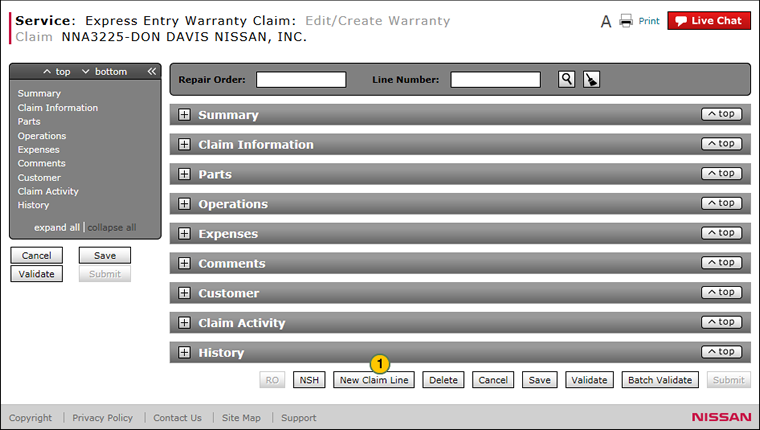
Before you add a new claim line, you must save the current claim information or the information you have entered will be lost. |
To add a new claim line on an express entry warranty claim:
|
|
Click the New Claim Line button. |
|
|
Continue adding the required claim information, and then click the Save button to save the claim line. |
Warranty Claim Actions - express
Take Action on an Express Entry Warranty Claim

When you have entered warranty claim data, take action on an express entry warranty claim:
|
|
To delete a saved claim, click the Delete button. |
|
|
To cancel a claim after data has been validated, click the Cancel button. |
|
|
To save a claim in progress or a claim with errors, click the Save button. |
|
|
To validate claim entries, click the Validate button. |
|
|
To send the claim to the batch validation queue, click the Batch Validate button. |
|
|
To submit a validated claim with no errors, click the Submit button. |
|
|
Before you add a new claim line, you must save the current claim information or the information you have entered will be lost. |
To add a new claim line on an express entry warranty claim:
- Click the New Claim Line button.
Note: DBS adds a new claim line to the claim and clears the information displayed in the Claim Information, Parts, Operations, and Expenses sections. - Continue adding the required claim information, and then click the Save button to save the claim line.
Note: To validate the information in the claim, click the Validate button. To submit a claim with no errors, click the Submit button.
- Complete the Comments Section of an Express Entry Warranty Claim
- Complete the Expenses Section of an Express Entry Warranty Claim
- Complete the Operations Section of an Express Entry Warranty Claim
- Complete the Parts Section of an Express Entry Warranty Claim
- Complete the Summary Section of an Express Entry Warranty Claim
- Delete a Warranty Claim from the Express Entry Warranty Claim Page
- Express Entry Warranty Claim Page Overview
- Submit a Warranty Claim
- Validate a Warranty Claim
- View NSH from the Express Entry Warranty Claim Page
|
|
You can save a warranty claim with warnings and error messages, and update the claim at a later time. |

Add a New Claim Line on an Express Entry Warranty Claim
|
|
|
|
|
|
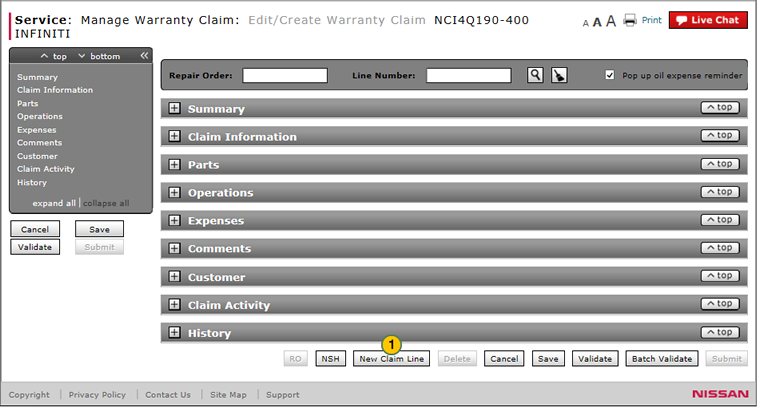
Before you add a new claim line, you must save the current claim information or the information you have entered will be lost. |
To add a new claim line on an express entry warranty claim:
|
|
Click the New Claim Line button. |
|
|
Continue adding the required claim information, and then click the Save button to save the claim line. |
Warranty Claim Actions - express
Take Action on an Express Entry Warranty Claim
When you have entered warranty claim data, take action on an express entry warranty claim:
|
|
To delete a saved claim, click the Delete button. |
|
|
To cancel a claim after data has been validated, click the Cancel button. |
|
|
To save a claim in progress or a claim with errors, click the Save button. |
|
|
To validate claim entries, click the Validate button. |
|
|
To send the claim to the batch validation queue, click the Batch Validate button. |
|
|
To submit a validated claim with no errors, click the Submit button. |