


Manage Parts Return Cancellation Reasons
Note: The cancellation reason entries appear in a drop-down list that is displayed to authorized users when they request cancellation of a parts return.
The instructions below provide the steps required to add a new parts return cancellation reason.
Add a Parts Return Cancellation Reason
To add a parts return cancellation reason:
|
|
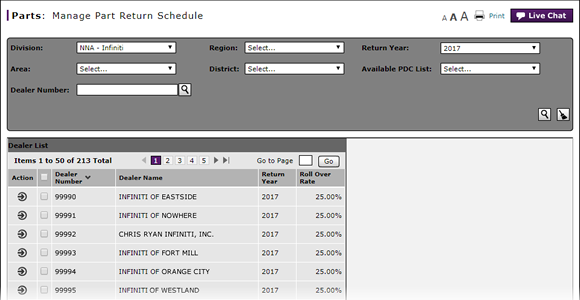
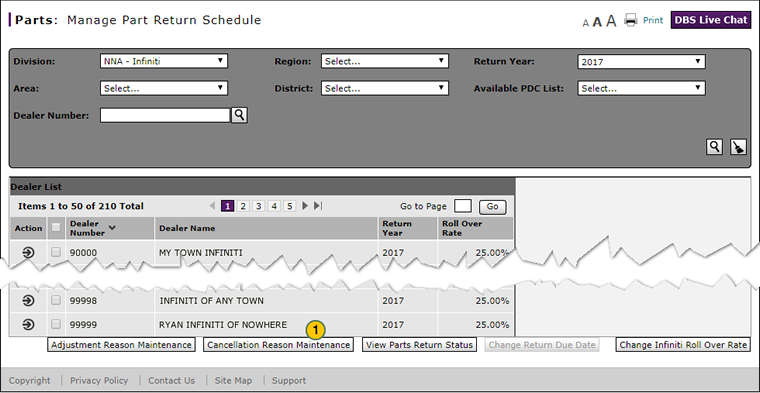
At the bottom of the Manage Part Return Schedule page, click the Cancellation Reason Maintenance button. |
|
|
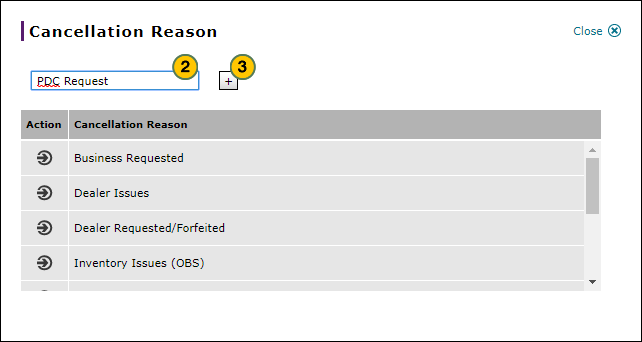
In the blank field at the top of the window, type the cancellation reason name. |
|
|
Click the Add icon. |
Edit a Parts Return Cancellation Reason
To edit a parts return cancellation reason:
|
|
At the bottom of the Manage Part Return Schedule page, click the Cancellation Reason Maintenance button. |
|
|
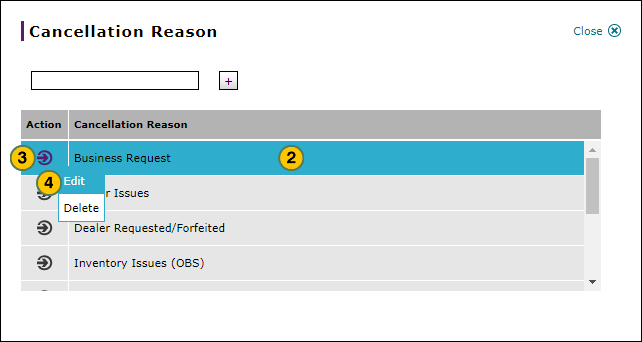
Select the cancellation reason you want to edit. |
|
|
Move your mouse pointer over the Action icon. |
|
|
From the Action menu, select the Edit menu option. |
|
|
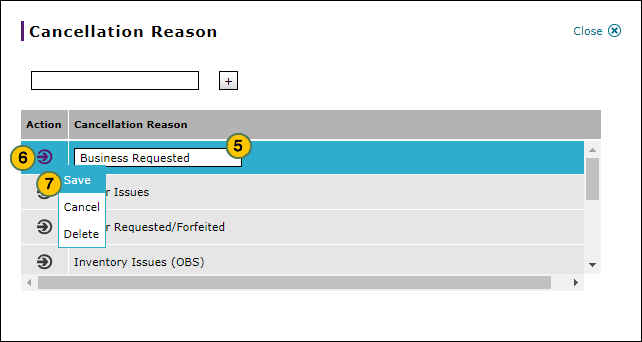
In the Cancellation Reason field, edit the cancellation reason as desired. |
|
|
Move your mouse pointer over the Action icon. |
|
|
From the Action menu, select the Save menu option to save your changes. |
Delete a Parts Return Cancellation Reason
To delete a parts return cancellation reason:
|
|
At the bottom of the Manage Part Return Schedule page, click the Cancellation Reason Maintenance button. |
|
|
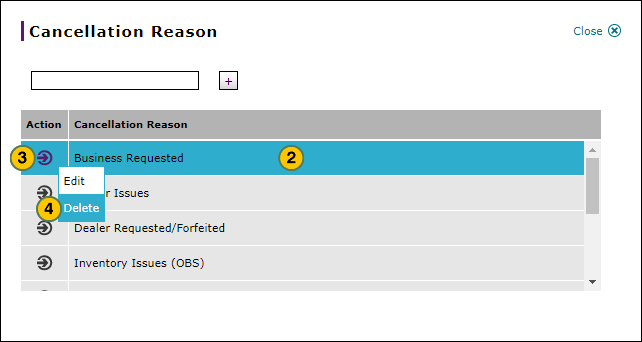
Select the cancellation reason you want to delete. |
|
|
Move your mouse pointer over the Action icon. |
|
|
From the Action menu, select the Delete menu option. |
|
|
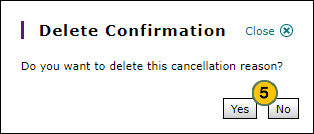
Click the Yes button to confirm, or click the No button to cancel the deletion. |
Note: The cancellation reason entries appear in a drop-down list that is displayed to authorized users when they request cancellation of a parts return.
The instructions below provide the steps required to add a new parts return cancellation reason. To view the steps for editing or deleting a cancellation reason, click the Step by Step tab in full help.
To add a parts return cancellation reason:
- At the bottom of the Manage Part Return Schedule page, click the Cancellation Reason Maintenance button.
Note: The Cancellation Reason window appears. - In the blank field at the top of the window, type the cancellation reason name.
- Click the Add icon.
- Adjust the Accrual Amount for a Parts Return
- Change the Parts Return Due Date
- Change the Parts Return Schedule for Multiple Dealers
- Change the Rollover Rate
- Filter the Manage Part Return Schedule Page
- Manage Part Return Schedule Page Overview
- Manage Parts Return Schedule Adjustment Reasons
- View the Accrual Adjustment History for a Dealer
Manage Parts Return Cancellation Reasons
Note: The cancellation reason entries appear in a drop-down list that is displayed to authorized users when they request cancellation of a parts return.
The instructions below provide the steps required to add a new parts return cancellation reason.
Add a Parts Return Cancellation Reason
To add a parts return cancellation reason:
|
|
At the bottom of the Manage Part Return Schedule page, click the Cancellation Reason Maintenance button. |
|
|
In the blank field at the top of the window, type the cancellation reason name. |
|
|
Click the Add icon. |
Edit a Parts Return Cancellation Reason
To edit a parts return cancellation reason:
|
|
At the bottom of the Manage Part Return Schedule page, click the Cancellation Reason Maintenance button. |
|
|
Select the cancellation reason you want to edit. |
|
|
Move your mouse pointer over the Action icon. |
|
|
From the Action menu, select the Edit menu option. |
|
|
In the Cancellation Reason field, edit the cancellation reason as desired. |
|
|
Move your mouse pointer over the Action icon. |
|
|
From the Action menu, select the Save menu option to save your changes. |
Delete a Parts Return Cancellation Reason
To delete a parts return cancellation reason:
|
|
At the bottom of the Manage Part Return Schedule page, click the Cancellation Reason Maintenance button. |
|
|
Select the cancellation reason you want to delete. |
|
|
Move your mouse pointer over the Action icon. |
|
|
From the Action menu, select the Delete menu option. |
|
|
Click the Yes button to confirm, or click the No button to cancel the deletion. |